 |
| Blanca Lake |
Last year i set out on an epic one night backpacking trip to explore the upper and less packed reaches of Blanca Lake.
The lake it's self is deserving to be on every hiker's list. But I was looking for solitude and a solid challenge. So I found another way to enjoy the super popular Blanca lake but from many different angles.
 |
| Sunset from camp |
 |
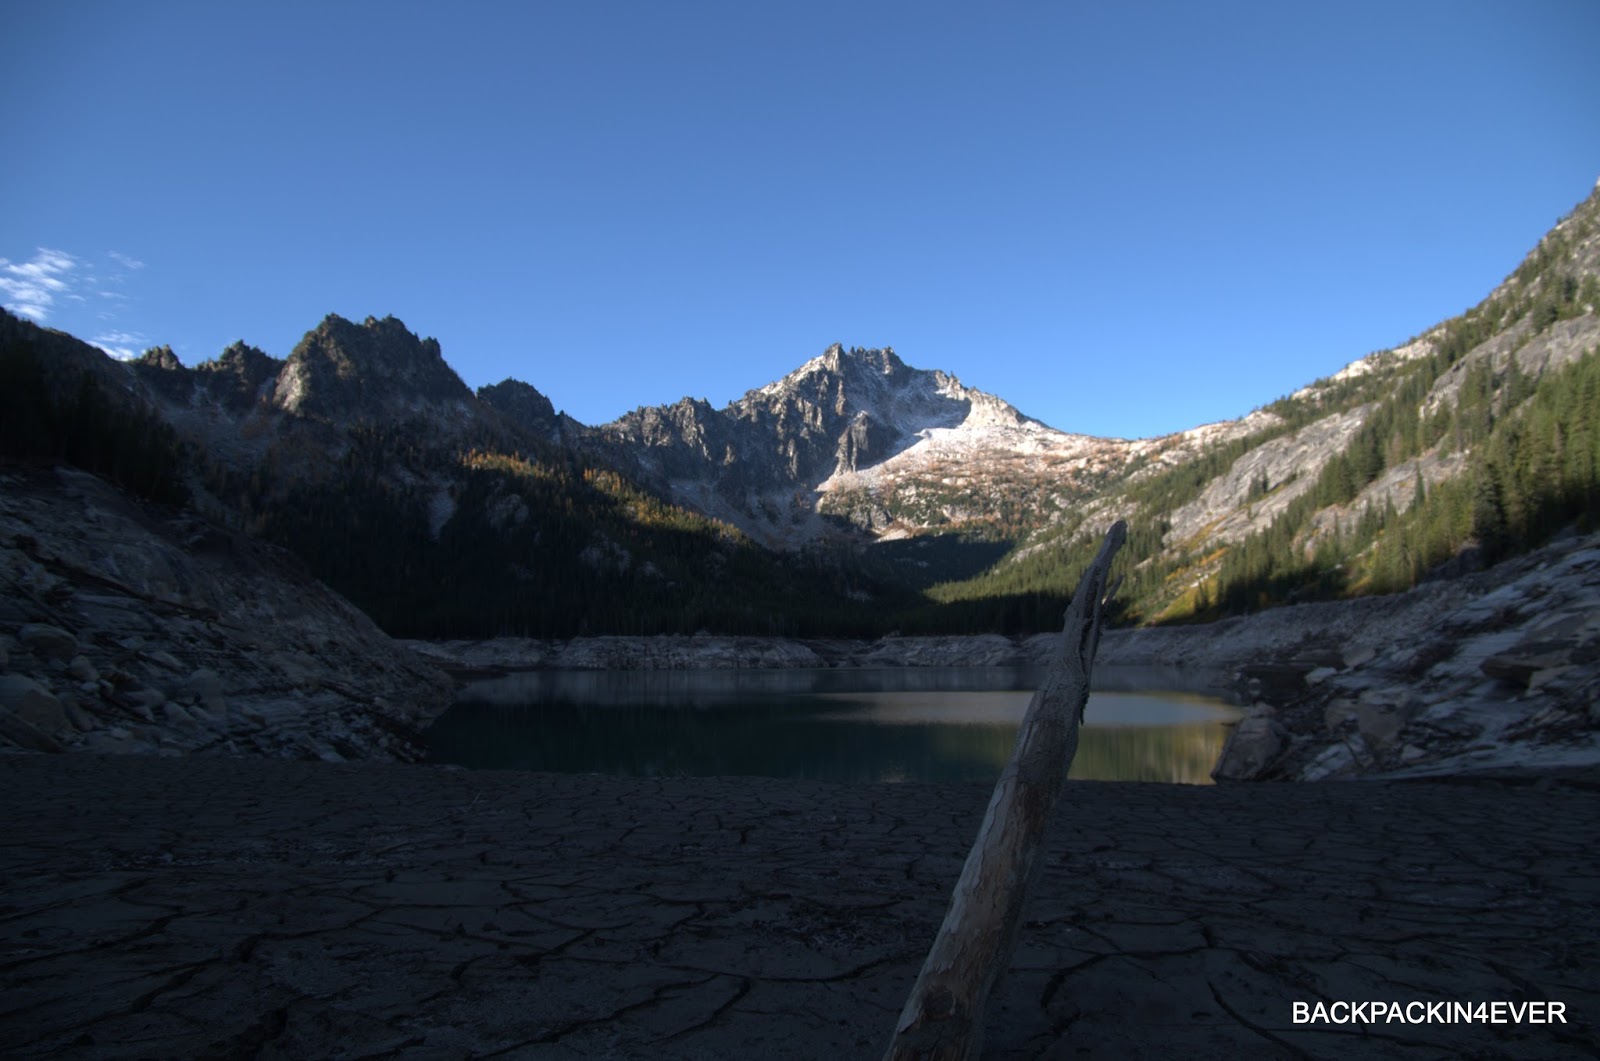
| Columbia Peak and glacier from camp |
In the early morning as i started my ascending route of Kyes Peak I came across three fellow backpackers who had just finished packing up camp. They too had the same goal in mind, Kyes Peak.
So together up the talus fields we climbed.
 |
| Heading up to the ridge and find the climber's trail with Monte Cristo Peak in the middle |
 |
| On top of the ridge with Blanca lake below |
 |
| Looking up to Kyes Peak with Glacier Peak on the right |
Next we ascended a small snowfield/glacier to reach the summit block. The summit block is steep with some lose scree and requires a hard scramble to the top. At about 30 feet from the top i decided to call is quits as the others gave up and were heading back down the trail.
 |
| Heading down the summit block of Kyes Peak |
The 30 feet I didn't climb i'm sure is the highest class of scrambling there is and being the lone climber now I optioned to stay safe. Plus we still had a long journey back to our cars and time was not on our side.
After catching up with the three hikers we all decided to take the longer but more scenic route back to the trailhead. The three hikers shared how their friends did the same scenic route a weekend ago. I was game, especially after hearing that it required hiking on and along side the Columbia Glacier.
 |
| The Columbia Glacier from near Kyes Peak |
Making our way down to the Columbia Glacier was not an easy task. Once the northern reaches of the glacier can be seen the climb down became steep with very loose rock and scree. Our boots were quickly taking in small rocks and pebbles.
Once on the Glacier the temps dropped and the steepness ceased. It was my first time hiking on a glacier and it felt so awesome.
 |
| Hiking atop the Columbia Glacier |
 |
| The scenic Columbia Glacier |
Once our feet arrived on solid ground again we were overjoyed. We hiked alongside the creek that flowed from the glacier and past the twin falls.
 |
| The Twin falls |
You simply gotta check out Blanca Lake. It really is what everyone says, simply spectacular.


 |
| On our up to the ridge |
 |
| Twin Falls |

 |
| Blanca Lake with Rainier in the back |
 |
| Columbia Peak |
 |
| Looking southwest with my trail friends |
 |
| Looking south |
 |
| Looking north from Kyes Peak |
 |
| Kyes Peak upper summit block |
 |
| Glacier Peak from Kyes Peak |
 |
| Sloan Peak from Kyes Peak |


